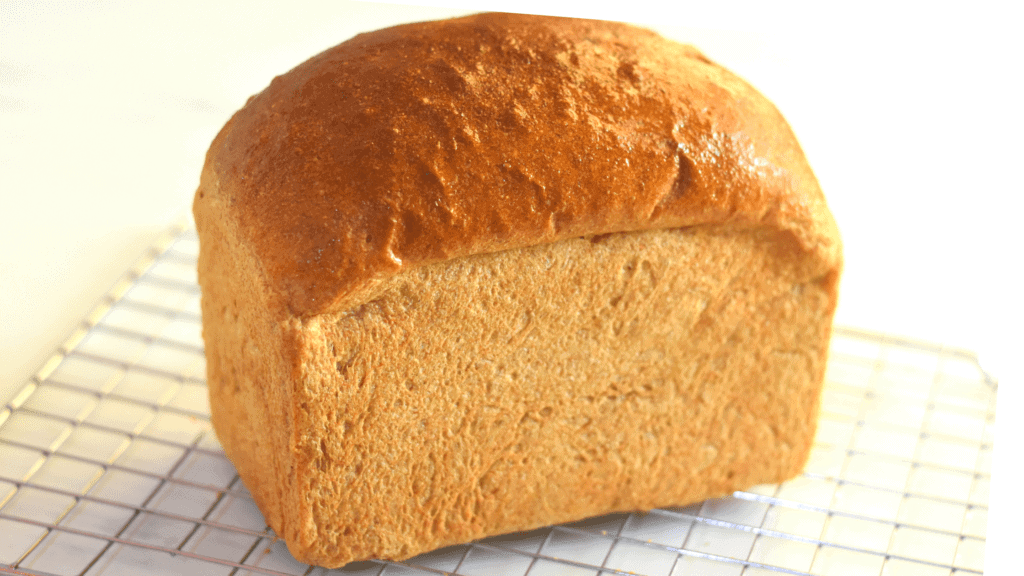
We all love to have some tasty French toasts or a healthy sandwich for breakfast. If you want to be extra careful not to get one calorie, this blog is for you. So, in this blog, let’s learn some tips to make your whole wheat bread fluffy. The cake making classes in Chennai are the best in teaching the baking basics and how to substitute things with one another. However, let us learn some of the significant differences between cake flour and wheat flour and make them rise perfectly.
Even the well-versed bakers go wrong while making the whole wheat bread because it often gets harder. Whole wheat flour requires more water than regular cake flour because the dough absorbs more water. The bran and related grains in your whole wheat bread do not make them rise. Have you ever heard of leavening gasses? These gasses are essential to make your bread rise despite being wheat or other products. There are four types of leavening gasses: steam, air, biological gas, and carbon dioxide. These gasses are released while kneading, folding, or baking ingredients to make the dough rise. Therefore, listed below are the ways to make your whole wheat bread rise.
Water:
The foremost tip to make your wheat bread rise is water. As mentioned earlier, you may require additional water for wheat bread to make them fluffy. Water vapor is one essential leavening gas that makes the dough more moist and soft. Therefore, you need a lot of water, which changes to water vapor while baking. Similarly, whole wheat bread holds on to less moisture because of the unwanted cereal. Thus, the bakery classes in Chennai suggest using 5 cups of water for every 2 cups of wheat flour with one tablespoon of oil. So, the ideal ratio for making wheat bread is 2:5:1.
Fats:
Including a generous amount of fats in the dough prevents them from rising. Fats like vegetable oil, butter, or heavy cream coat the dough’s gluten structure and delay the rising ability. Thus, make sure to use the fat at the prescribed percentage or cups. Similarly, allow the dough to rest to persevere the gluten structure before adding the fats. So, it is enough to add the fats towards your end of preparation to make the bread fluffier and softer.
Checking on the yeast:
It is where most bakers go wrong and end up using expired yeast for baking. The yeast that has been in the cupboard is not an ideal one to use for baking. So, make sure that you use active yeast, not the expired one. If you are a student of the baking institute in Chennai, you know how to check whether the yeast is active. Take the yeast in a bowl, add some warm water, and wait for ten minutes. If it bubbles up, it is still active and can be used for baking.
Hence, consider the tips shared in the blog and try to incorporate them in your next baking. You can learn similar tips from baking classes in Chennai Velachery to become an
