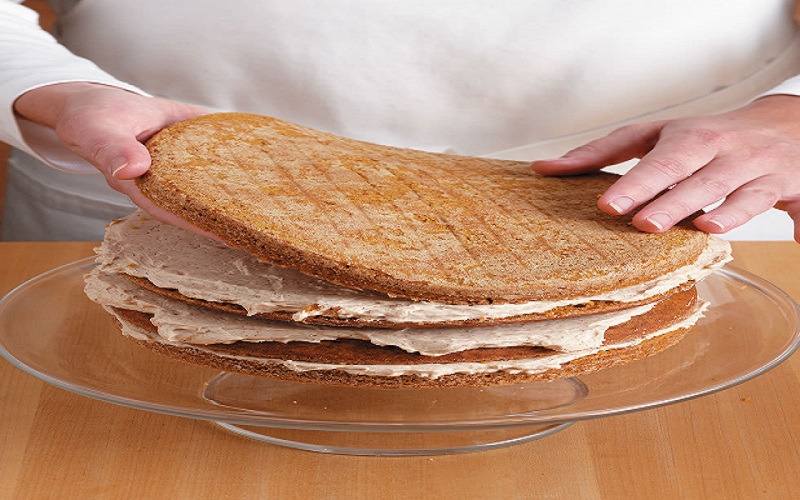
There is a general belief that only professional bakers could achieve precisely flat cake layers. We used to prefer baking cupcakes to baking stacked cakes when we first started baking. We did this for one simple reason: we wanted to prevent all waste. You’re familiar with the scenario. We need to level our cake layers by removing the unattractive dome, and we definitely don’t throw away the off-cuts. There is another issue, in addition to the quest for perfectly flat cake layers. The middle of the cake was moist, but the sides were dry. This needed to be addressed. Cupcakes bake faster than giant cake layers, so they don’t spend as much time in the oven. Reach out to baking classes in Chennai to know more about it. Large cakes, on the other hand, will need significantly longer hours in the oven. By the time the center is done, the exterior portion has already been roasted for 20 minutes and is overcooked.
Before we begin:
There is a basic procedure for baking cake layers but it must be tailored to your recipe. Cake recipes, in our opinion, can be split into three types. This excludes cake varieties such as Angel Food Cake, which is completely different.
- Recipes Using Butter
- Recipes Using Oil
- Recipes with fresh fruits and veggies
Greasing the baking pan:
Always use high-quality non-stick parchment/baking paper to line the bottom of your pan. It’s a pleasure to get the cake out of the pan! Place the cake tin’s base just on paper, trace a circle, and cut it out.
The following is a basic technique for baking flat cake layers:
- Take a measurement of the length of the tin.
- Obtain a clean, freshly purchased hand towel.
- Cut towel strips to the length of your tin’s height and tall enough to cover it all the way around. If the towel ends up overlapping the tin, that’s fine. Leave the towel’s edges intact rather than cutting them off to keep the strip intact.
- Soak the cloth strips in water and wring them out until they are evenly moist. Remove the water and wring it out.
- Prepare your cake pan by greasing and lining it.
- Wrap the damp cloth strips around the pan and secure them.
- Pour the batter in, smooth it out, and bake it.
Applying the procedure:
Recipes with butter:
This approach works wonders with butter-based cake recipes! Make the most of your towel strips by squeezing and wringing them out as much as possible. If your cakes are extremely wet, the sides may very well rise faster than the centre! Before baking, use a spatula to level out the batter. It is not necessary to spread the batter all the way up the sides.
- Preheat the oven to 180°C and bake a cake on rack A.
- Halfway through baking, gently rotate your pans.
Oil-based recipes:
For oil-based recipes, compress the cloth strips lightly till they’re past the point of leaking. As usual, oil and line the tin before pouring in the batter. Slowly swirl the pan around, coating approximately 1 cm of the tin’s edge over the batter’s regular resting level. Shake the pan gently to return the main batter to its normal resting level. Also you can join professional baking classes in Chennai to learn some courses.
Just before putting the muffins in the oven, do this.
- Preheat the oven to 170 degrees celsius before starting to bake the cake.
- On rack A, place a clean empty baking tray.
- On rack B, place your cake tins.
- Inside the bottom of the oven, pour roughly 1/2 cup of water.
- Preheat the oven to 350°F and bake for 10 minutes.
- Rotate the pans and pour 12 cups of water into the bottom of the oven’s bottom. Continue to bake for another 20 minutes on rack B.
- Transfer your cake from rack B to rack A after removing the roasting tray from rack A. Rotate your cakes one more time at this point.
- Proceed to bake until everything is done.
- Preheat the oven to 350°F and bake for 10 minutes.
- Rotate the pans and pour 12 cups of water into the bottom of the oven’s bottom. Continue to bake for another 20 minutes on rack B.
- Transfer your cakes from racking B to racking A after removing the roasting tray from rack A. Rotate your cakes one more at this point.
- Proceed to bake until everything is done.
Fresh fruit/vegetable recipes:
Surprisingly, these batters fall midway between both the butter and oil categories. Fruits and veggies generally produce a lot of moisture as they bake, which aids with level cake baking. Even so, having a towel strip that is very moist helps in this category. As usual, oil and line the tins, then wrap the moist cloth strips around them. Pour the cake batter into the pan. Slowly swirl the pan around, coat approximately 1 cm of the tin’s edge over the batter’s regular resting level. Shake the pan gently to return the main batter to its normal resting level. Do this right before you go to bed at night to make it settle well. Join bakery classes in Chennai to make yourself good at baking.
